Continuing with the third post in a series of 8 from my classroom hands-on tech training, we will now automatically deploy Azure Functions. Azure Functions is Azure’s serverless compute and it is basically just functions you write and deploy to AppServices. The deployment method I’ll use here is called Zip Push Deployment, ie we send a zip file with the code and config to run. At the end I’ll add some Cosmos DB to it just to show how easy it is to add output sinks to a function. Like the other posts in this series, I’ll show scripting code in Powershell and CLI both for Mac and Windows.
The Task
- Create a Storage Account
- Create an AppServices Function App
- Deploy function code to it
- Generate the code
- Zip the content
- Deploy the code
The storage account is needed, because it persists the code in the background of the serverless compute. The AppService Function App is the app that can host one or many functions. It is the first part in the url, like https://func-app.azurewebsites.net/api/func-name?param1=value1.
Step 1: Create the Storage Account
This is a just a few lines of code regardless of Powershell/CLI. The crux is really setting a parameter value in a DOS Command Window for CLI.
In Azure CLI for Mac, it looks like this, where we can use the tsv format to query for the connect string and set the result as a variable to be used later in the script
az storage account create -n "$storageaccount" --location "westeurope" -g "$rgname" --sku "Standard_LRS"
STGCONNSTR=$(az storage account show-connection-string --name "$storageaccount"
      --resource-group "$rgname" -o tsv)
In Azure CLI for Windows, the Command interpreter is abit less flexible, and we have to do a trick via using a temp file to set the variable for the connect string to storage.
az storage account show-connection-string --name "%storageaccount%"
      --resource-group "%rgname%" -o tsv > %temp%\tempstgconnstr.txt
set /p STGCONNSTR=<%temp%\tempstgconnstr.txt
del %temp%\tempstgconnstr.txt
In Powershell with it’s type language, we can use the object model and get the key
New-AzureRmStorageAccount -ResourceGroupName "$rgname" -AccountName "$storageAccount"
                -Location "$location" -SkuName "Standard_LRS"
$keys = Get-AzureRmStorageAccountKey -ResourceGroupName "$rgname" -AccountName "$storageAccount"
$storageAccountConnectionString = 'DefaultEndpointsProtocol=https;AccountName='
                   + $storageAccount + ';AccountKey=' + $keys[0].Value
Step 2: Create the AppService Function App
The CLI has the “az functionapp create” which comes in handy while Powershell hasn’t any equivalent, but we can manage with the generic New-AzureRmResource
In CLI it is pretty straight forward. The only option is if you automatically want to create an AppService Plan or not
az functionapp create -n "$funcappname" -s "$storageaccount" -c "westeurope"
           -g "$rgname"  # -p "appservice plan create"
In Powershell, what we’ll do is creating a ResourceType of Microsoft.Web/Sites, which basically is an AppService WebApp, but we specyfy -kind as “functionapp” to indicate that it is the Function specialization we want.
New-AzureRmResource -ResourceGroupName "$rgname" -ResourceType "Microsoft.Web/Sites"
   -ResourceName "$FuncAppName" -kind "functionapp" -Location "$location" -Properties @{} -force
Step 3a: Generate the Code
A Function App consists of some common json config files (host.json, local.settings.json) and a subdirectory for each function contaning a json config file and the code itself. The directory name is the name of the function.
The file local.settings.json amongst other things holds connection strings and keys, much like AppSettings does for an AppServices WebApp. We need to update it with the connection string for our Storage Account and later we will add the Cosmos DB connection string here to. This means that this file must be modified if we are using a template. The function.json file describes the input and output(s) for the function so that the Auzre run-time knows what to pass to it and get in return.
In order to make a simple demo, I autogenerate all files in Powershell and CLI. This is of course not something you would do in any other circumstance than in a demo.
In CLI for Mac, generating the local.settings.json looks like this. It is basically pipeing out the json structure and replacing some values from our variables
cat <<EOF > "$funcappname/local.settings.json"
{
   "IsEncrypted": false,
   "Values": {
     "FUNCTIONS_EXTENSION_VERSION": "~1",
    "ScmType": "None",
     "WEBSITE_AUTH_ENABLED": "False",
     "AzureWebJobsDashboard": "$STGCONNSTR",
     "WEBSITE_CONTENTAZUREFILECONNECTIONSTRING": "$STGCONNSTR",
     "WEBSITE_CONTENTSHARE": "$storageaccount",
     "WEBSITE_SITE_NAME": "$funcappname",
     "WEBSITE_SLOT_NAME": "Production",
     "AzureWebJobsStorage": "$STGCONNSTR"
   }
}
EOF
In Powershell, the equivalent is
$propsL = @{
    IsEncrypted = $false
    Values = @{
      FUNCTIONS_EXTENSION_VERSION = "~1"
      ScmType = "None"
      WEBSITE_AUTH_ENABLED = $false
      AzureWebJobsDashboard = $storageAccountConnectionString
      WEBSITE_CONTENTAZUREFILECONNECTIONSTRING = $storageAccountConnectionString
      WEBSITE_CONTENTSHARE = $storageaccount
      WEBSITE_SITE_NAME = $FuncAppName
      WEBSITE_SLOT_NAME = "Production"
      AzureWebJobsStorage = $storageAccountConnectionString
    }
}
($propsL | ConvertTo-json -Depth 10) > "$FuncAppName\local.settings.json"
Step 3b: Zip the content
When the code is generated, we need to zip it into a file that we pass to Azure. This works well in Powershell and in Mac/Linux, but not so great in the DOS Command Prompt since there is no native zip command. So, in the CLI/DOS example there is a little pause asking the user to zip the file manually.
In CLI for Mac, zipping is quite easy. We need to step into the subdirectory before zipping, since the host.json and local.setting.json must be in the root of the zip file
cd ./$funcappname
zip -r "../$funcappname.zip" ./*
cd ..
Powershell has no built in zip command, but loading the .Net System.IO.Compression.FileSystem does the trick for us. The CreateFromDirectory requires a full path, so if you ever modify it, you’ll get an error if you pass a relative path.
Add-Type -Assembly System.IO.Compression.FileSystem
$compressionLevel = [System.IO.Compression.CompressionLevel]::Optimal
[System.IO.Compression.ZipFile]::CreateFromDirectory("$Path\$FuncAppName",
      "$path\$FuncAppname.zip", $compressionLevel, $False)
Step 3c: Deploy the code
In Azure CLI, there is a ready made command for what we are trying to do, so doing the Zip Push Deployment is super-easy.
az functionapp deployment source config-zip  -g "$rgname" -n "$funcappname"
           --src "./$funcappname.zip"
Powershell hasn’t the built in function, but we can achieve the same functionality by invoking Azure AppServices REST API that the CLI uses. The first step is to query the username/password we need to use and create a base64 string out of them. When that is complete we just post the zipfile to an API named zipdeploy that AppServices exposes
$apiUrl = "https://$FuncAppName.scm.azurewebsites.net/api/zipdeploy"

$publishingCredentials = Invoke-AzureRmResourceAction -ResourceGroupName "$rgname"
     -ResourceType "Microsoft.Web/sites/config"
     -ResourceName "$FuncAppName/publishingcredentials"
     -Action list -ApiVersion "2015-08-01" -Force

$base64AuthInfo = [Convert]::ToBase64String([Text.Encoding]::ASCII.GetBytes(("{0}:{1}"
            -f $publishingCredentials.Properties.PublishingUserName,
               $publishingCredentials.Properties.PublishingPassword)))

Invoke-RestMethod -Uri $apiUrl -Headers @{Authorization=("Basic {0}" -f $base64AuthInfo)}
             -UserAgent "powershell/1.0" -Method POST -InFile "$path\$FuncAppname.zip"
              -ContentType "multipart/form-data"
Upon receiving the zipfile, Azure AppServices engine will unzip it and place it in the approriate folder. All function subdirectories in the zip file will immidiatly be active for requests.
The AppService zipdeploy API unpacks the zip file it receives and the second later it is operational.
Testing the Function
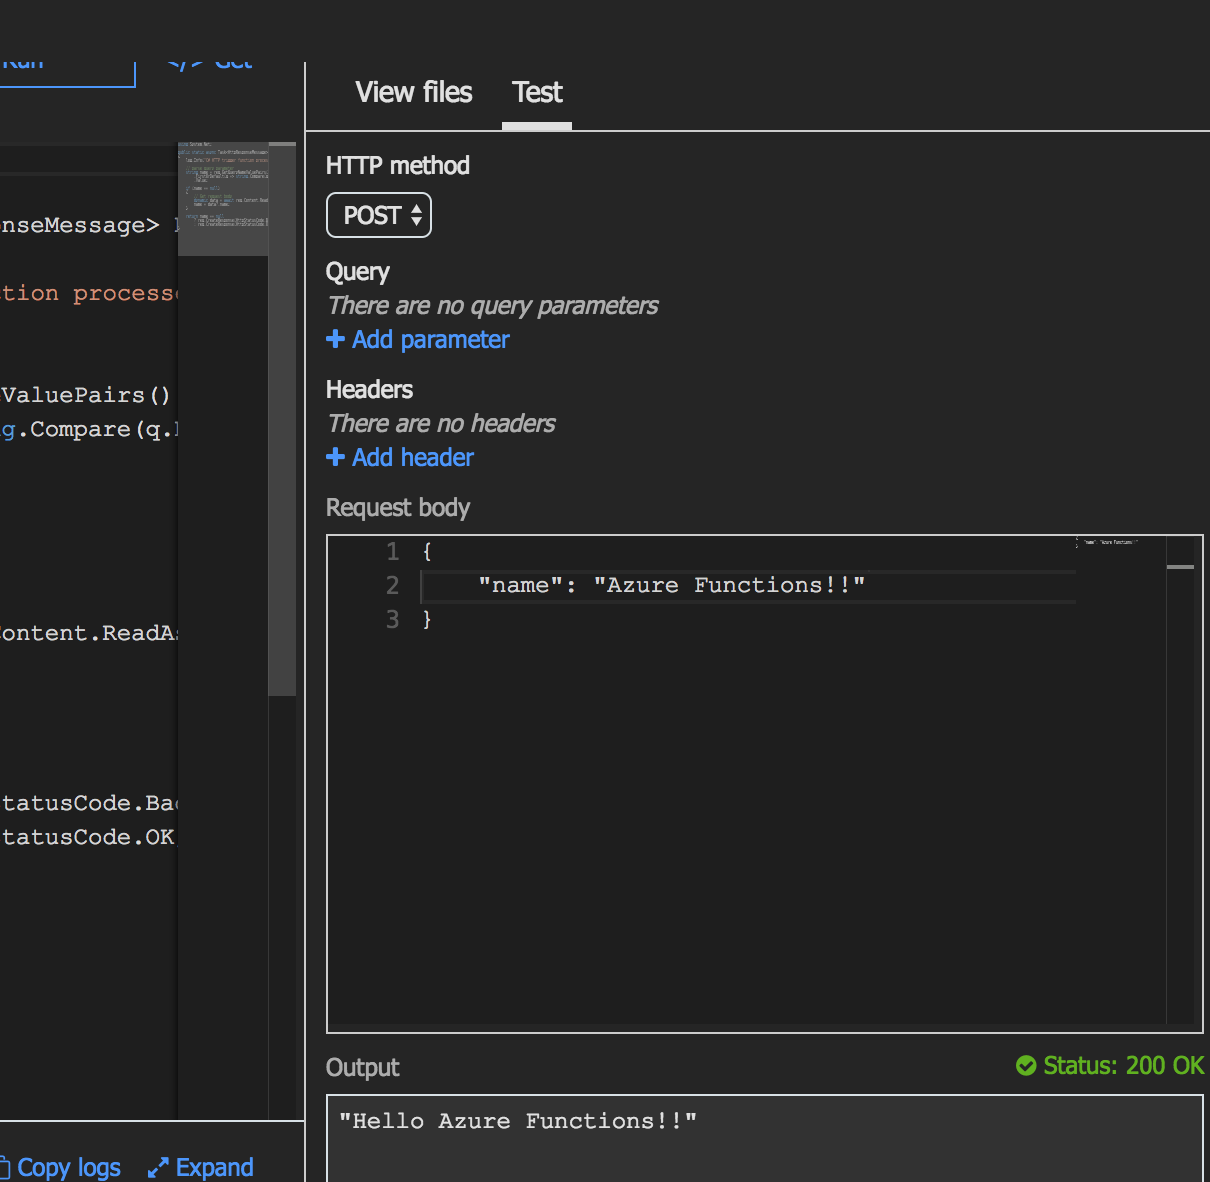
The easiest way to test the new Azure Function is to do it in portal.azure.com.
If you want to test it from scripting, it can be done via curl on Mac/Linux or in Powershell like below
$uri1 = "https://<funcappname>.azurewebsites.net/api/HttpTriggerCSharp3?code=...key..."
Invoke-RestMethod -Uri "$($uri1)&name=There!" -Method Get
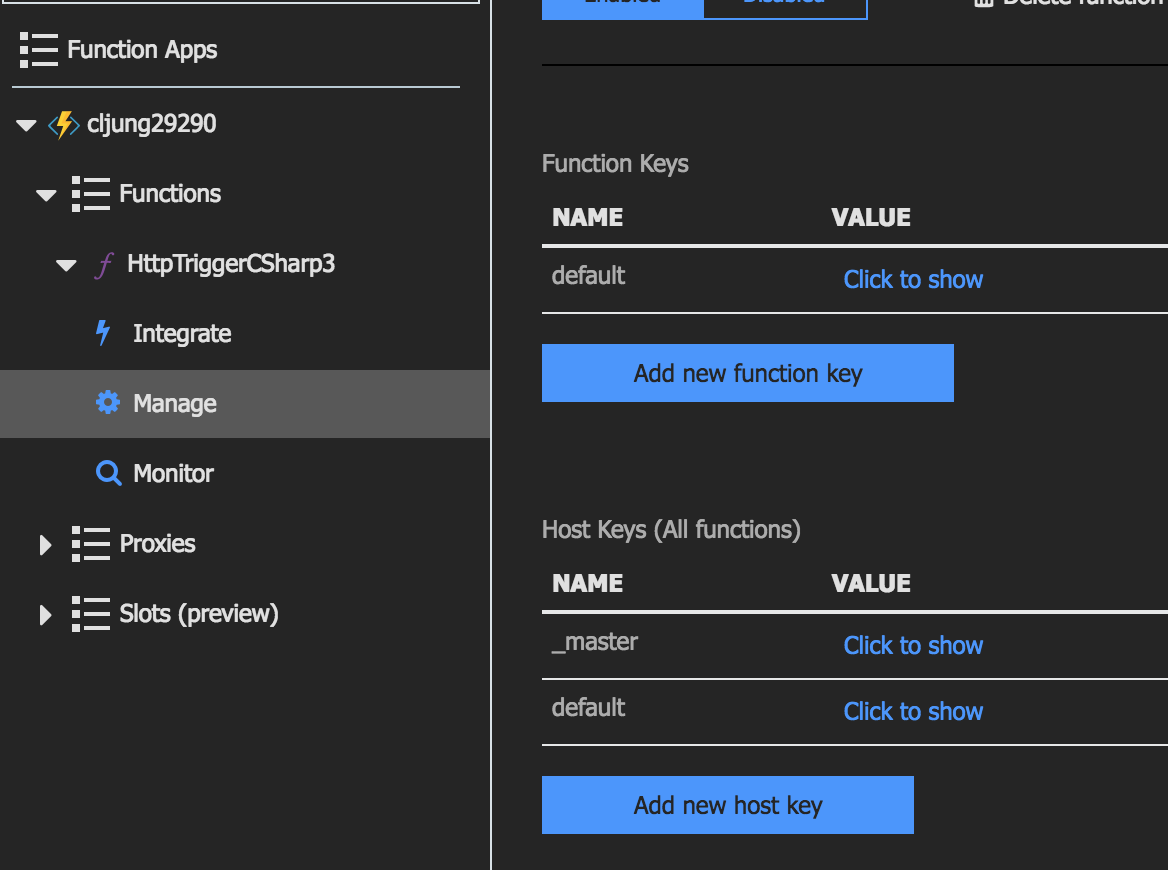
You get the Key from the portal
Version 2: Adding CosmosDB as output for the function
Azure Functions works with the concept of bindings, where the http request is an input binding and the http response is an output binding. If you want the function to do more, like persisting the request to some datastore, you need to modify the bindings and add a secondary output binding.
Modifying the bindings can be done on the “Integrate” menu in the portal (see above screenshot), but what really happens is that you modify the functions.json and the local.settings.json files.
After adding CosmosDB as an output binding, the function.json file looks like this. The value cljungdocdb1_DOCUMENTDB is a reference to a connectiong string that is defined in the local.settings.json file. CosmosDB used to be called DocumentDB, so that’s why you have names like that all over.
{
  "bindings": [
    {
      "direction": "in",
      "name": "req",
      "type": "httpTrigger",
      "authLevel": "function",
      "methods": [
        "get",
        "post"
      ]
    },
    {
      "name": "$return",
      "direction": "out",
      "type": "http"
    },
    {
      "type": "documentDB",
      "name": "outputDocument",
      "databaseName": "outDatabase",
      "collectionName": "MyCollection",
      "createIfNotExists": false,
      "connection": "cljungdocdb1_DOCUMENTDB",
      "direction": "out"
    }
  ]
}
The content of the local.settings.json file can be viewed in the portal as below and you can see that the cljungdocdb1_DOCUMENTDB contains a real connection string
The code in the function needs to be modified to make use of the new output binding. We need to add a 3rd parameter where the name “outputDocument” must match what was put in function.json
#r "Newtonsoft.Json"
#r "Microsoft.Azure.Documents.Client"
using System.Net;
using System.Text;
using Newtonsoft.Json;
using System.Configuration;
using Microsoft.Azure.Documents;
using Microsoft.Azure.Documents.Client;

public static async Task<HttpResponseMessage> Run(
                                              HttpRequestMessage req
                                            , TraceWriter log
                                            , IAsyncCollector<object> outputDocument
                                            )
{
    log.Info("C# HTTP trigger function processed a request.");
    dynamic body = await req.Content.ReadAsStringAsync();
    log.Info( body );
    await outputDocument.AddAsync( body );
    return req.CreateResponse(HttpStatusCode.OK, "Request saved");
}
If you are familiar with the CosmosDB API’s, you’ll see we are not using them. The IAsyncCollector is a generic thing you can use in the function to just capture output.
To redeploy the Azure Function using my deployment technique, you would basically rezip the zipfile with the updated json files and code and redo the invokation of the REST API. When Azure Functions gets the deployment, it replaces what existed before.
Summary
Azure Functions is really a lightweight way to quickliy get code up and running that sits behind a public cloud endpoint. I used the zip push deployment model here to illustrate how easy it can be. You probably only use that when you do some rapid piloting. More likely you are to setup deployment integration to some source control system, like github, and automatically deploy your code whenever it is changed.
References
The scripts accompanying this can be found in this Github repo. They are called appservices-deploy-function*.*. For deploying a CosmosDB via scripts, use the cosmosdb*.* scripts
https://github.com/cljung/aztechdays
Other useful Microsoft documentation
https://docs.microsoft.com/en-us/azure/azure-functions/scripts/functions-cli-create-serverless
https://docs.microsoft.com/en-us/azure/azure-functions/deployment-zip-push


