This post is the first of two where I’ll show you how to rehost an old classic ASP website to Azure WebApps in a matter of seconds. In the first step we will compress the website’s content into a zipfile, use Azure Powershell to dynamically create the WebApp in Azure and finally use msdeploy to deploy the application as a Web Deployment Package. The second post will show you how to move the database.
The Classic ASP website
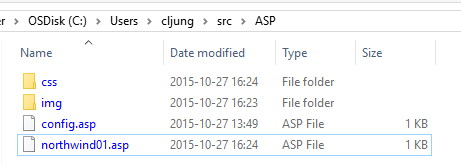
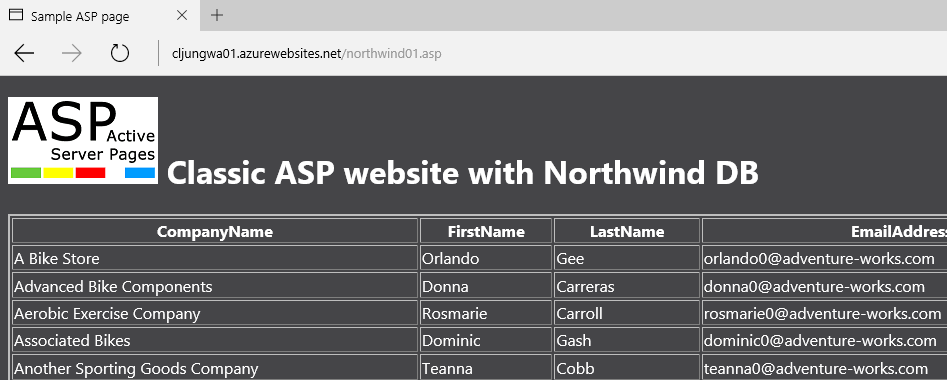
The classic ASP website I used is as simple as it can get so you can try this little experiment yourself. It’s just a simple page that lists some data from the Northwind sample database (see the refs at the bottom where I found it). The database exists as a SQL Azure database in the same datacenter.
Step 1 – zip the files in the website folder
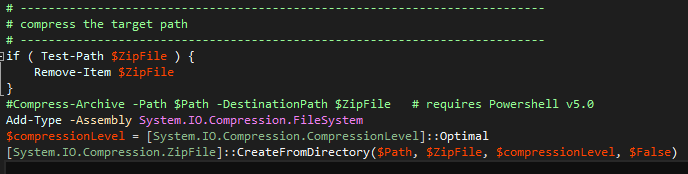
The Web Deployment technique uses a zip file as a deployment package and there is nothing magic about that zip file although Visual Studio decorates it a bit when you create a deployment package. The deployment package can be as simple as the file layout you want to unzip under wwwroot on your deployment target server.
With Powershell of today, zipping a folder into a zip file can be done via the Compress-Archive cmdlet, if you are using Powershell v5.0, or via the System.IO.Compression.ZipFile .Net class
Step 2 – create the Azure WebApp
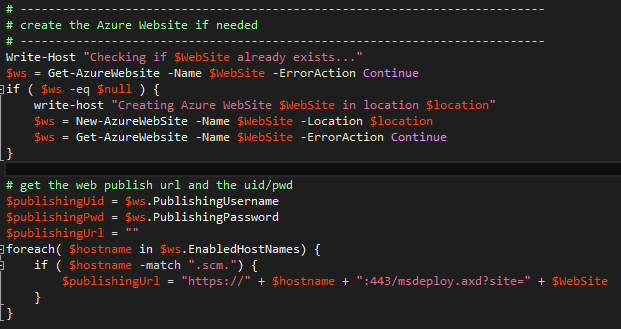
Second step is creating the Azure WebApp which is just about invoking the New-AzureWebsite Powershell cmdlet. From the website object returned we get info about the publishing url, userid and password that we need for the Web Deploy part in step 3.
Step 3 – Web Deployment of the zip file
Web Deployment is done via a tool called msdeploy.exe and you have to read the registry to get the path to where it is installed. This tool can target a server or an url and in this case we have the url from the properties the Get-AzureWebsite call returned.
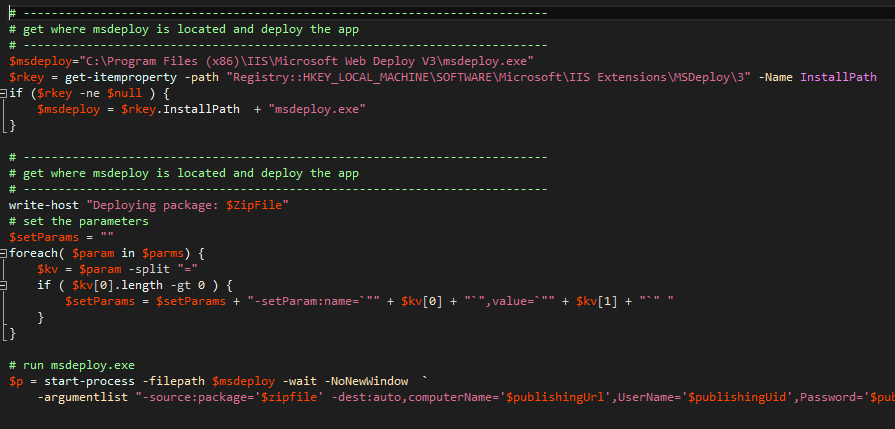
The classic ASP website and the zip file we are creating here do not need any extra deployment parameters, but in case you need to supply additional parameters, I added powershell code to do that. A Visual Studio generated web deployment package has parameters called “IIS Web Application Name”, “DefaultConnection-Deployment Connection String” and “DefaultConnection-Web.config Connection String” that you need to set in order for msdeploy.exe to not fail.
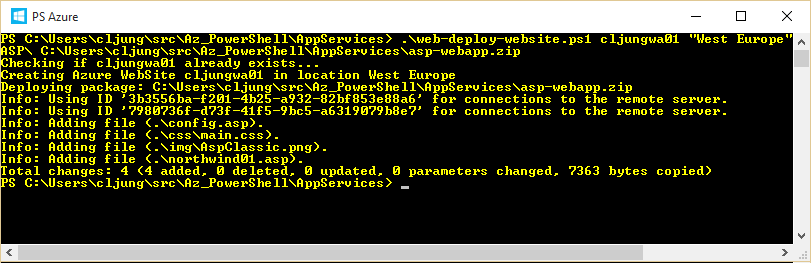
Putting it all together
Running the powershell takes just a few seconds and once that is done you have an classic ASP-based website running in an Azure WebApp that you can browse to
I made a few modifications to the original sample and that is to add some css, and image and to make the database be a SQL Azure database instead of an Access MDB file (including modifying the SQL statement a bit). You have both the powershell script and the ASP website in the references below.
If you download and try it yourself you must pre-create the Northwind sample database as a SQL Azure database – which is dead simple in the new portal where you just select that you want a sample database – and you must then also change the connection string in the northwind01.asp file.
Summary
Rehosting websites you have installed on old servers you really don’t want to touch (but for sure wouldn’t mind if they were deprovisioned) can be done very fast and with very little effort, especially if it’s ASP.Net, classic ASP, PHP or java code that Azure WebApps support. If you have the dev environment still around you can use tools like Visual Studio to do the rehosting, but if don’t and just want to move the files, a simple script like I showed you here can be a powerful tool. I have in fact used a slightly more complex version on several occasions helping customers to do such a move.
References
Classic ASP website
http://www.w3schools.com/asp/showasp.asp?filename=demo_query_1
Source code
http://data.redbaronofazure.com/public/ClassicASP_source.zip