We have come to the 5th episode in a series of 8 blog posts from my hands-on tech training i do in a classroom. The series is intended for beginners who want to learn how to use Azure from a scripting perspective. It is not a powerpoint/portal approach. I cover both CLI and Powershell, since I think it’s important to master them both. The 5th episode is about Containers and the managed Azure Kubernetes Service (AKS) Azure provides.
Background
Around 2014 Docker trended like a bubble in a bath in the IT community and containers became as chic as haute couture on Hollywood Boulevard. It was basically the cure for everything and the hype spread like wild fire, a fire that is still burning. Initially developed on Linux, it is now also supported on Windows Server 2016 which says a bit. Joking aside, it is a technology that is here to stay that has many benefits. But in order to run container applications on clusters of VMs, you need a container orchestrator that can deploy container images in the cluster, manage its resources and scale when necessary. For some time, there’s been a battle between different orchestrators, like Docker Swarn, Marathon, DC/OS, Mesosphere and Kubernetes. For a long time Microsoft and Azure had the Hard Rock Café approach of love-all-serve-all, meaning the Azure Platform supported all popular orchestrators. Kubernetes has lately taken a clear lead in this race and there now exists a managed Kubernetes service in Azure, Google Cloud and AWS. Google developed Kubernetes, so that they have it is not a surprise. Microsoft see’s the importance of this container orchestrator and created a managed service in pure Azure style.
The Task
In the Azure AKS documentation, there is a 7 step tutorial https://docs.microsoft.com/en-us/azure/aks/kubernetes-walkthrough, spread over multiple pages, that I have condensed into one single bash script. In order to run this, you need git, docker, docker-compose, kubectl and Azure CLI on your laptop – or – you can follow my steps in episode 4 and via a simple script create a Ubuntu Linux VM in Azure that installs all of this and is ready to take you through the AKS tutorial.
The steps are
- Git clone the Python web application we are going to use and build the Docker images of it
- Deploy an Azure Container Registry in Azure and push the Docker images to it
- Deploy the Azure Kubernetes Service cluster
- Deploy the web application to the Kubernetes cluster
(including viewing the cluster from the Kubernetes dashboard) - Optionally, scale the cluser and add more nodes
If you look at my Github repo, you’ll find a bash script named azure-container-services-tutorial.sh that does all this in some 125 lines. The script is written in such a fashion that it pauses between each step so you can press any key to continue. Since there is a lot going on here, it is nice to pause and perhaps check portal.azure.com, test drive the webapp, etc, between each step.
Pick up where we left in episode 4
We ended step 4 by creating a Ubuntu Linux VM that had run the bash script ubuntu-install-devtools.sh as part of the provisioning process. If you login to the VM you’ll find another bash script in your home directory named download-azure-container-script.sh. It is a little present left there by ubuntu-install-devtools.sh that will help us download the next script. Since the waagent do not run as your user, you need to change the owner of the file and then make it executable via the chown and chmod commands.
After that you can run the script which will pull down azure-container-services-tutorial.sh from my Github repo and make that ready for execution.
Now before we execute, we need to login to Azure CLI so that the Ubuntu VM can manage resources in your Azure subscription.
For those of you who already have access to other Azure subscriptions in your enterprise, I strongly suggest you follow this maneuver to make sure you are in the correct subscription.
az account show   # <-- tells you which subscription is current

# if you need to change.....
az account list   # <-- grab the guid (Id) of the desired one

az account set -s {guid}
Step 1 – Build the container webapp locally
Starting azure-container-services-tutorial.sh will first give you the chance to Ctrl+C out if you forgot az login (there will be so many error messages if you’re not logged in that it’s not funny to watch).
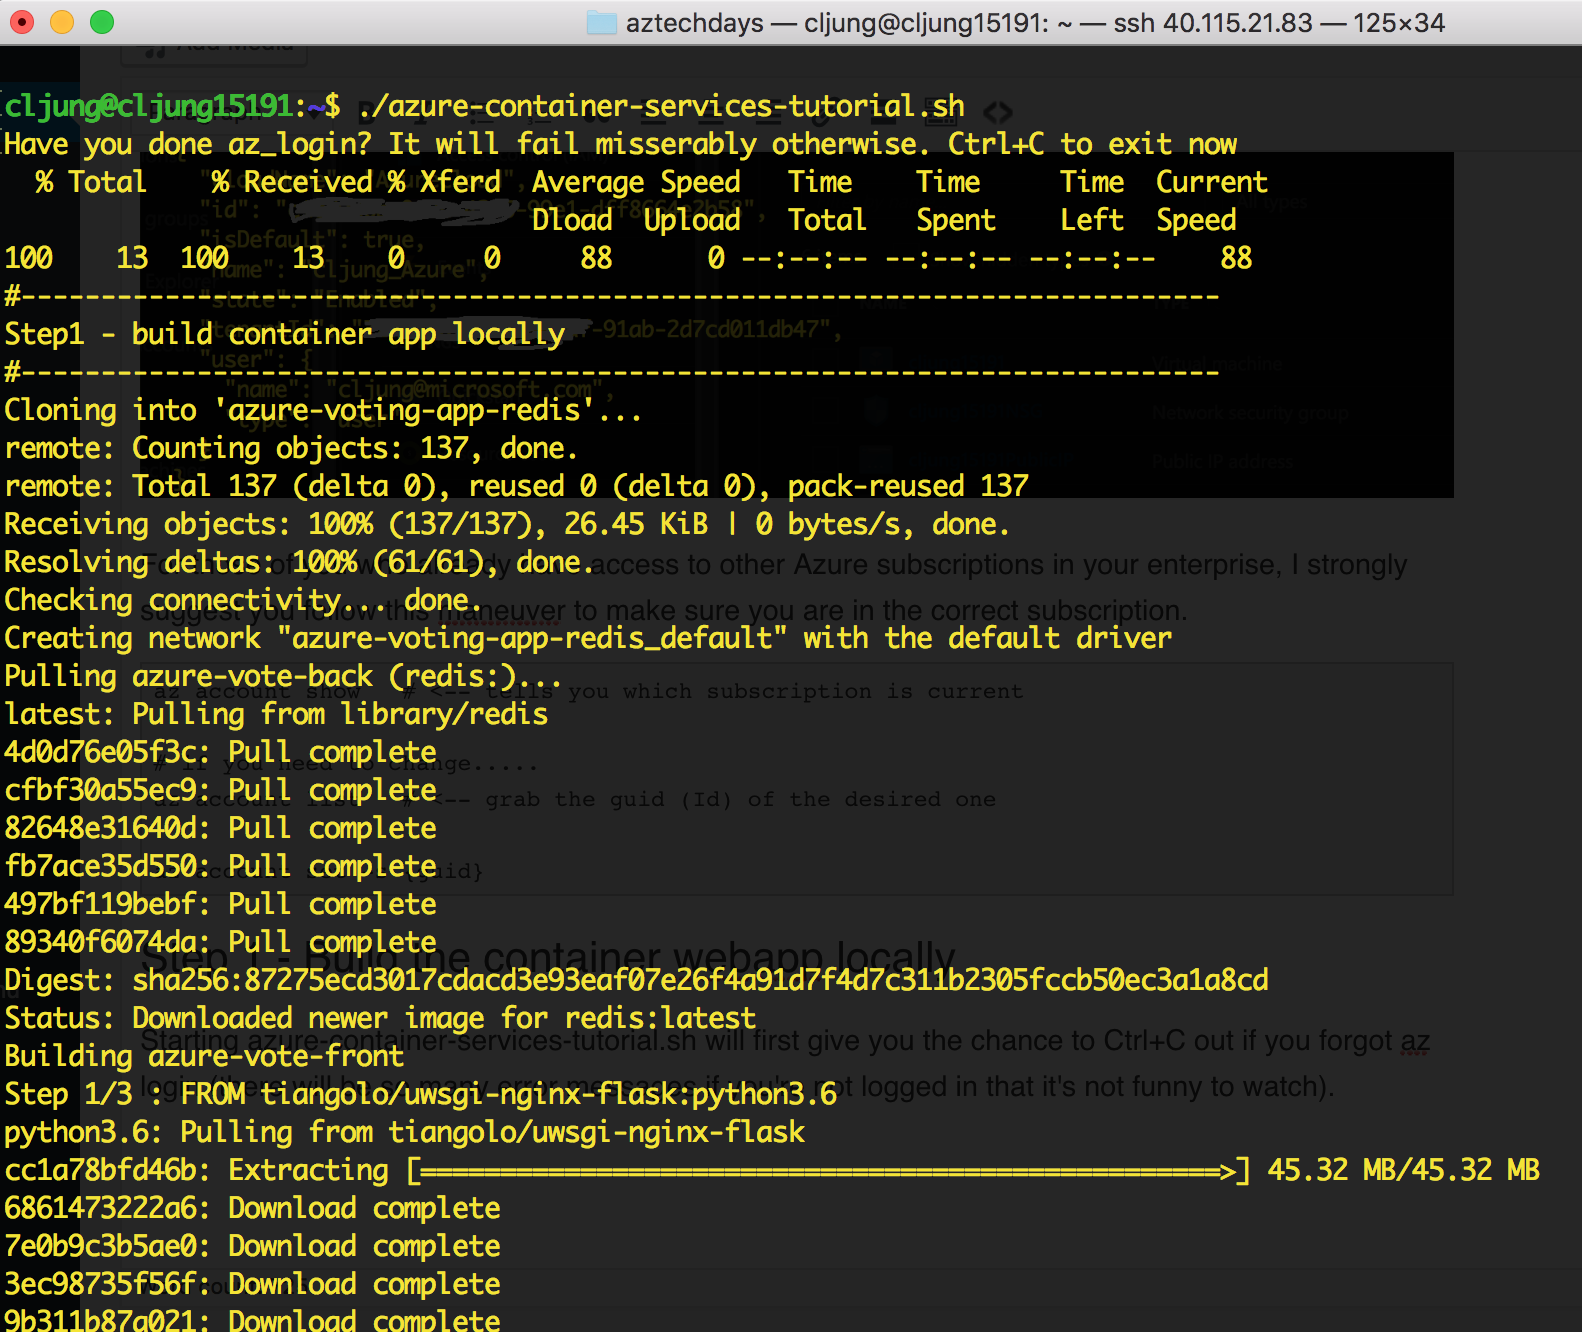
What will happen then is that we will git clone the Python webapp and start to build the docker images. Since the webapp consists of a front end and a back end, we will have an image for all trier. The build process is run by the docker-compose command (docker-compose -up d), which manages the build of a multi-docker image solution. There will be alot of crap (sorry) in the output window about pulling & extracting docker images and you might think – my God, why so many? Docker images are like Russian dolls, so if you base your image on another image, and that image in its turn is based on an image, etcetc, you get this effect. Docker needs to traverse all the way in the build process.
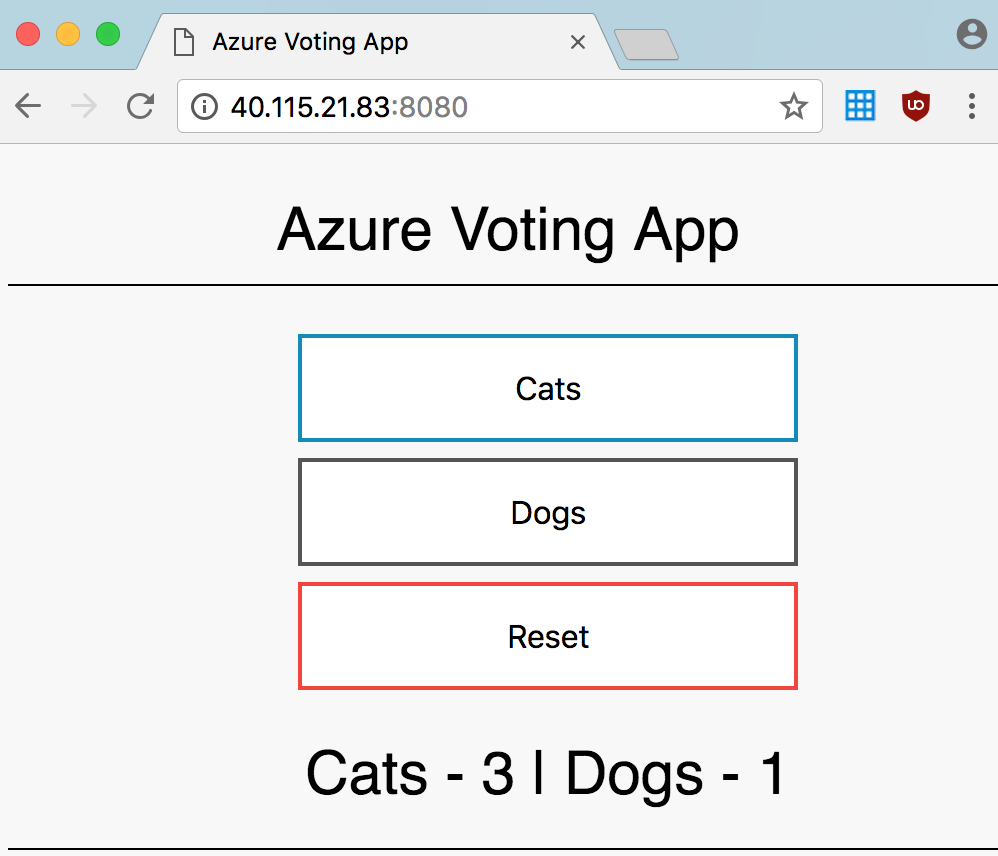
When the build completes, it will list the local Docker images you have (docker images command) and run the container app (docker ps). The script outputs a public ip adress and port you can browse to the running container app (note the type – it should be http://<x.y.z.w>:8080/)
The webapp is a silly little Python app where you can vote on Cats & Dogs. The current result is stored in the back end part of the app, which is a running instance of a Redis Cache.
When your done with some ultra-productive voting in the app, you press enter at the “Continue?” prompt the script is presenting. That will stop the webapp via the docker-compose stop/down commands and the script will move on to step 2.
Step 2 – Deploy Azure Container Registry
Docker images need some place to exist in Azure, like in other platforms. We need an image repository and that is called an Azure Container Registry (ACR). The next step is to deploy the ACR as an Azure resource via CLI. This is a somewhat time consuming operation, but not that bad. When it finishes, the script will tag and push the applications Docker images from the local computer to ACR.
az acr create --resource-group $RGNAME --name $ACRNAME --sku Basic
az acr login --name $ACRNAME

ACRLOGINSERVER=$(az acr list --resource-group $RGNAME --query "[].{acrLoginServer:loginServer}" --output tsv)

docker tag azure-vote-front $ACRLOGINSERVER/azure-vote-front:v1
docker push $ACRLOGINSERVER/azure-vote-front:v1    #  takes time
In the above example, you’ll notice that I make use of the tsv output format in combination with the –query parameter in order to just get the name of the ACR server since we need that for the tag & push.
Once everything is pushed to ACR, the script will ask “Continue?” and then list all images in ACR.
Step 3 – Deploy the Azure Kubernetes Service cluster
In the third step we actually create the AKS cluster in Azure. This step will be the most time consuming step in the whole script, since it both provision the underlying VMs in the managed service and also go through the complete Kubernetes installation process (which is no easy piece). Expect therefor a wait time of 8-10 minutes (double that if your connected to a projector)
When creating the AKS cluster, Azure also creates SSH Keys for you that are the master keys to your cluster. If you plan to keep the cluster, you should copy these keys and store them somewhere safe. If you for instance delete the Ubuntu VM, the keys are gone forever.
AKSCLUSTERNAME=$userid"aks01"
az aks create --resource-group $RGNAME --name $AKSCLUSTERNAME --node-count 1
        --generate-ssh-keys  # takes time
az aks get-credentials --resource-group $RGNAME --name $AKSCLUSTERNAME

kubectl get nodes
CLIENT_ID=$(az aks show --resource-group $RGNAME --name $AKSCLUSTERNAME
             --query "servicePrincipalProfile.clientId" --output tsv)
ACR_ID=$(az acr show --name $ACRNAME --resource-group $RGNAME --query "id" --output tsv)
az role assignment create --assignee $CLIENT_ID --role Reader --scope $ACR_ID
One thing that the script needs to do is to give read access to AKS for ACS, because AKS will need to read ACS so it can get the images stored there. When the provisioning is completed, you have two resorces in Azure
Step 4 – Deploy the container app to the AKS cluster
The 4th step is actually deploying the container app from the Registry (ACS) to the AKS cluster. Before we do that we need to modify the yaml file that describes the containers of the application. There is a piece that needs to reflect the current ACS name and for this search&replace operation you see the bash sed command. After that we can deploy the webapp via the “kubectl create” command.
ACRLOGINSERVER=$(az acr list --resource-group $RGNAME
           --query "[].{acrLoginServer:loginServer}" --output tsv)

# replace "microsoft" with "server name" from above az acr list cmd in yaml-file
# either with text editor or the lovely bash command below
sed -i -e "s/microsoft/$ACRLOGINSERVER/g" ./azure-vote-all-in-one-redis.yaml

kubectl create -f azure-vote-all-in-one-redis.yaml
kubectl get service azure-vote-front --watch
The “kubectl get service” with the “–watch” argument just polls the availabiliy of the webapp. It will show EXTERNAL-IP as <pending> during deployment and will switch to a public ip address once the deployment is completed.
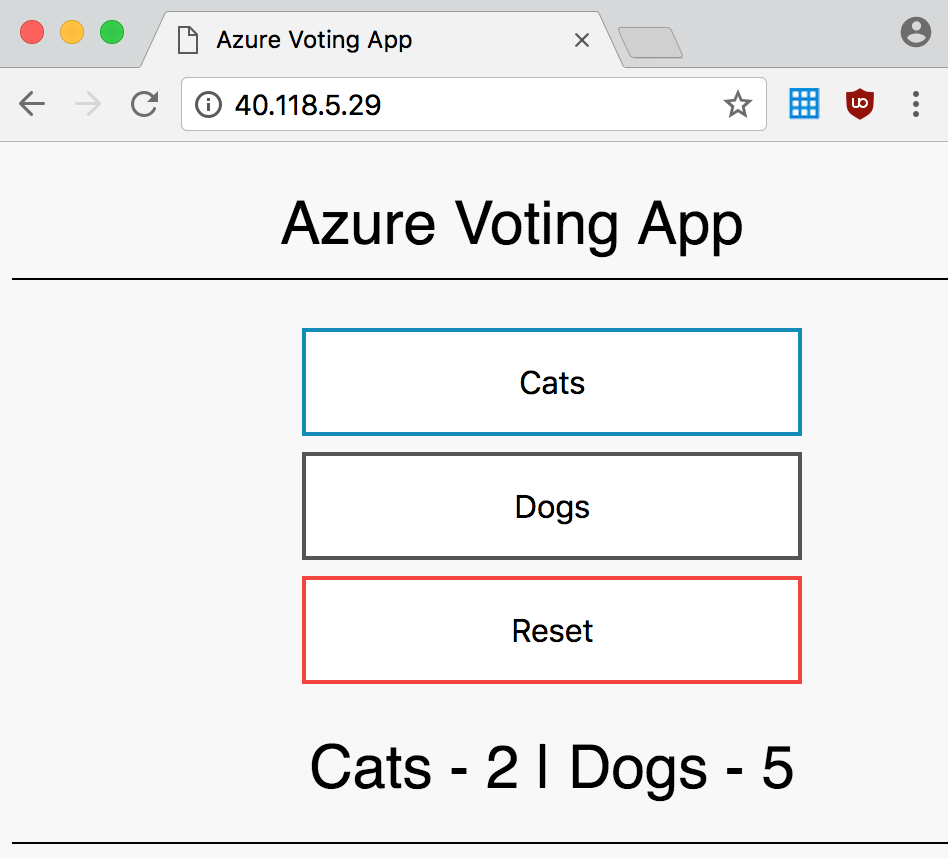
Once we have an ip address, we can start voting for Cats & Dogs via a contanerized webapp running in Azure Kubernetes Service (AKS). Pretty cool, right?
Steb 4b – The Kubernetes Dashboard
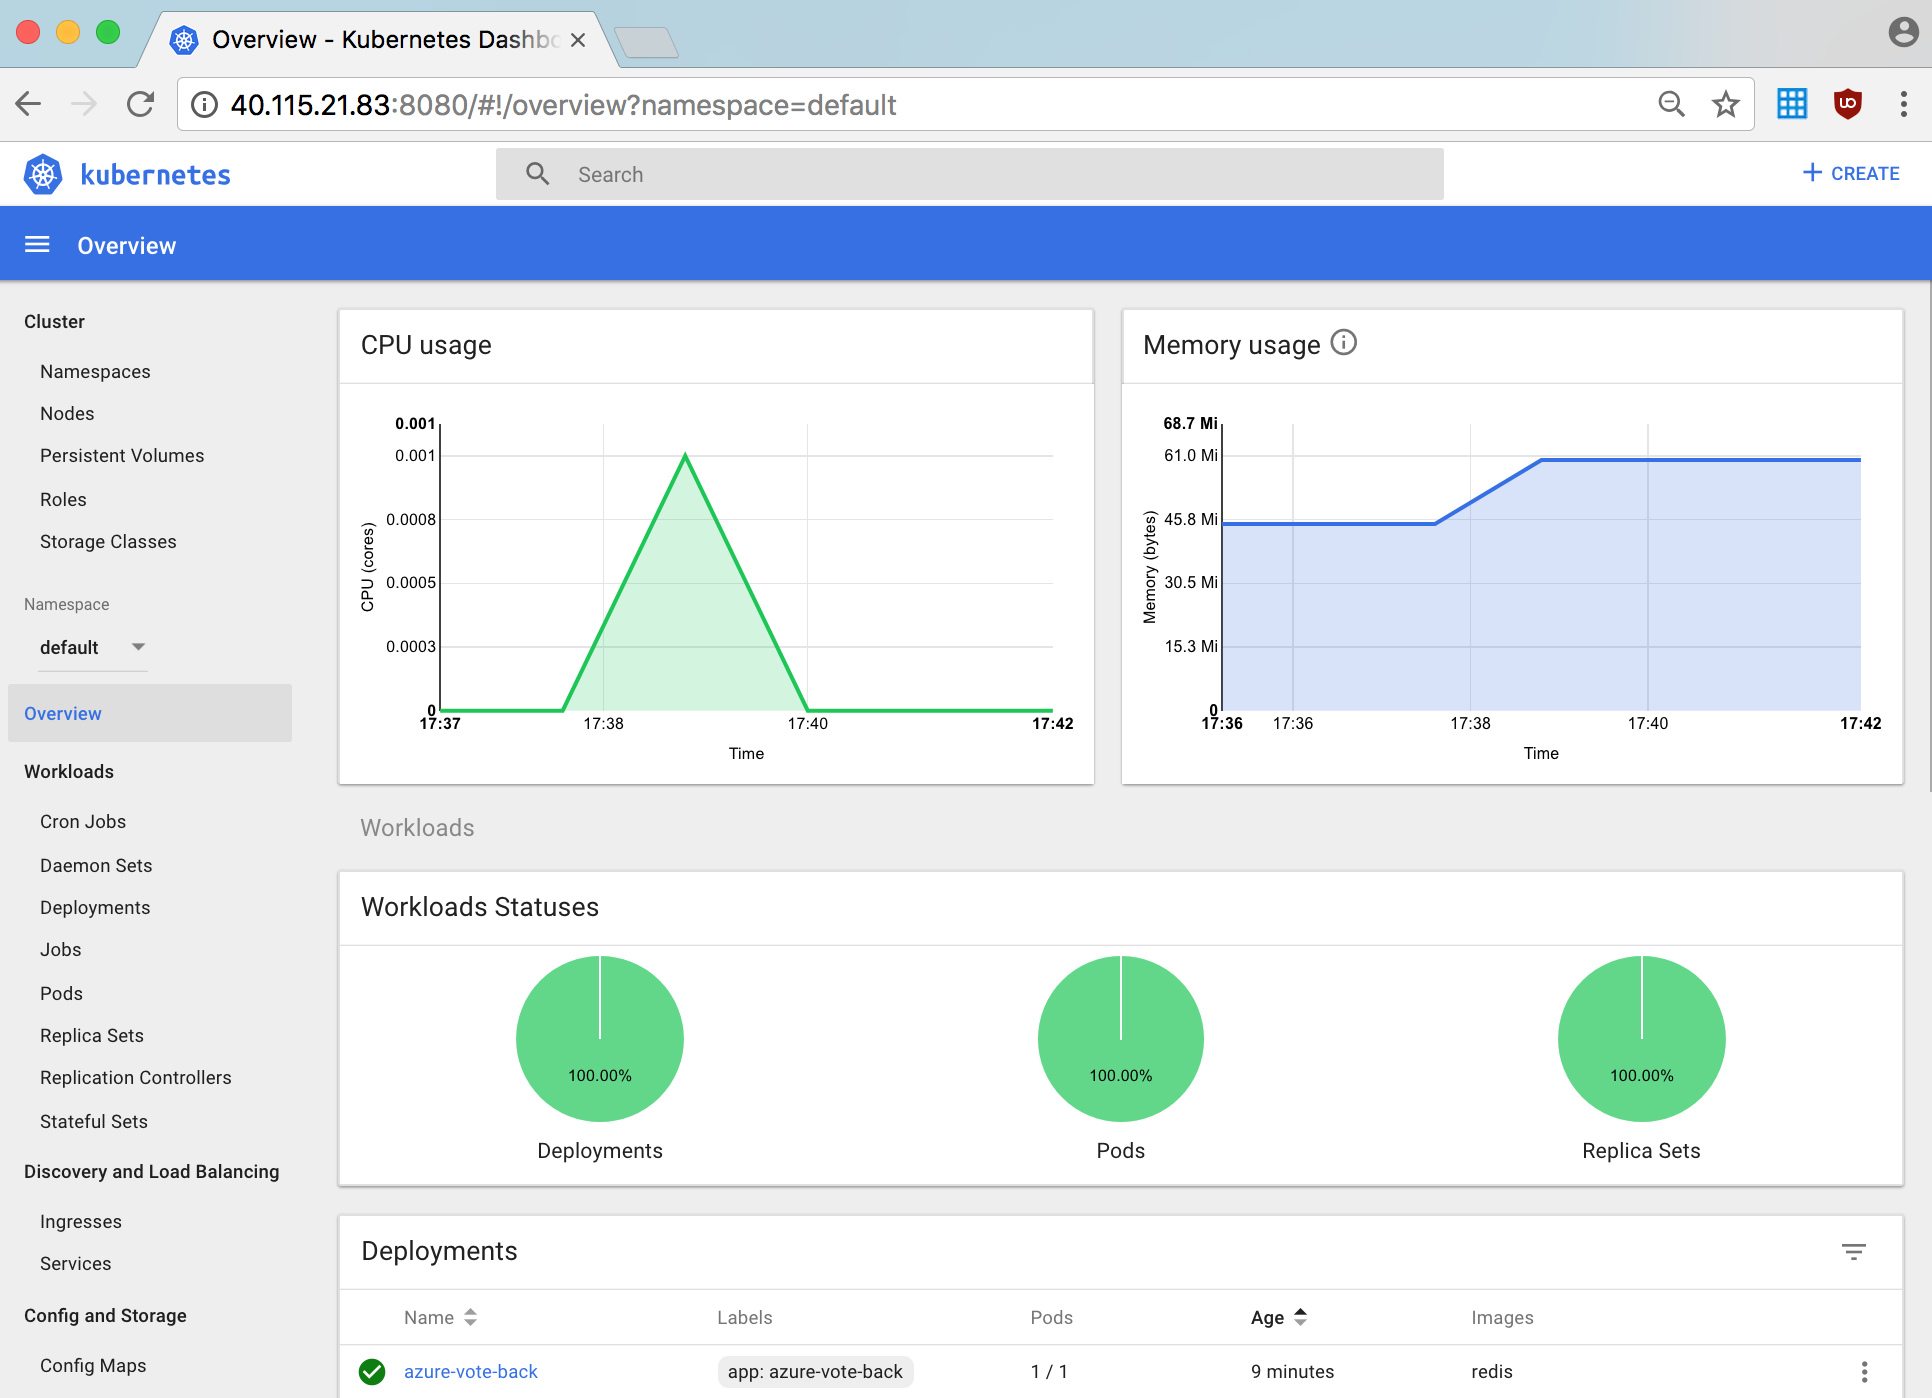
In order to continue, Ctrl+C out of the –watch mode of kubectl. This will install nginx reverse proxy to let us access the Kubernetes Dashboard. It is actually hosted on the Ubuntu VM on http://localhost:8001/, but since we can’t reach localhost on the Azure based VM, we need to proxy it out via nginx. My script installs nginx on the fly and proxy’s port 8080 to 8001, so when the script tells you it’s ready, you can browse to the Ubuntu’s public ip address on port 8080
Step 5 – Scaling the cluster
The script doesn’t scale the cluster by default, so if you want to do that, you have to manually run the command. You need to replace the variables $RGNAME and $AKSCLUSTERNAME with real values in order to do this. The way to end the nginx/dashboard thing is to Ctrl+C which will infact exit the script.
az aks scale --resource-group=$RGNAME --name=$AKSCLUSTERNAME --node-count 2
Summary
I’ve shown you how to build a Container based application and deploy in to Azure Kubernetes Service based on a 7 step tutorial in the Microsoft documentation. Container Orchestrators, like Kubernetes, is no simple thing and having a manages service, like Azure provides vid AKS, really helps in quickly getting value out of your container initiative.
References
Microsoft documentation and tutorial
https://docs.microsoft.com/en-us/azure/aks/kubernetes-walkthrough
Github repo containing my script azure-container-services-tutorial.sh
https://github.com/cljung/aztechdays


